
How to configure SiteGround for Piano Studio Website

Hello and welcome to the second article in the technology-related series of blog posts describing how to set up the hosting of the piano studio website via SiteGround. In our previous blog post we were talking about the onboarding process, we have created a hosting account and configured billing. Let’s install WordPress and configure security settings now!
Software
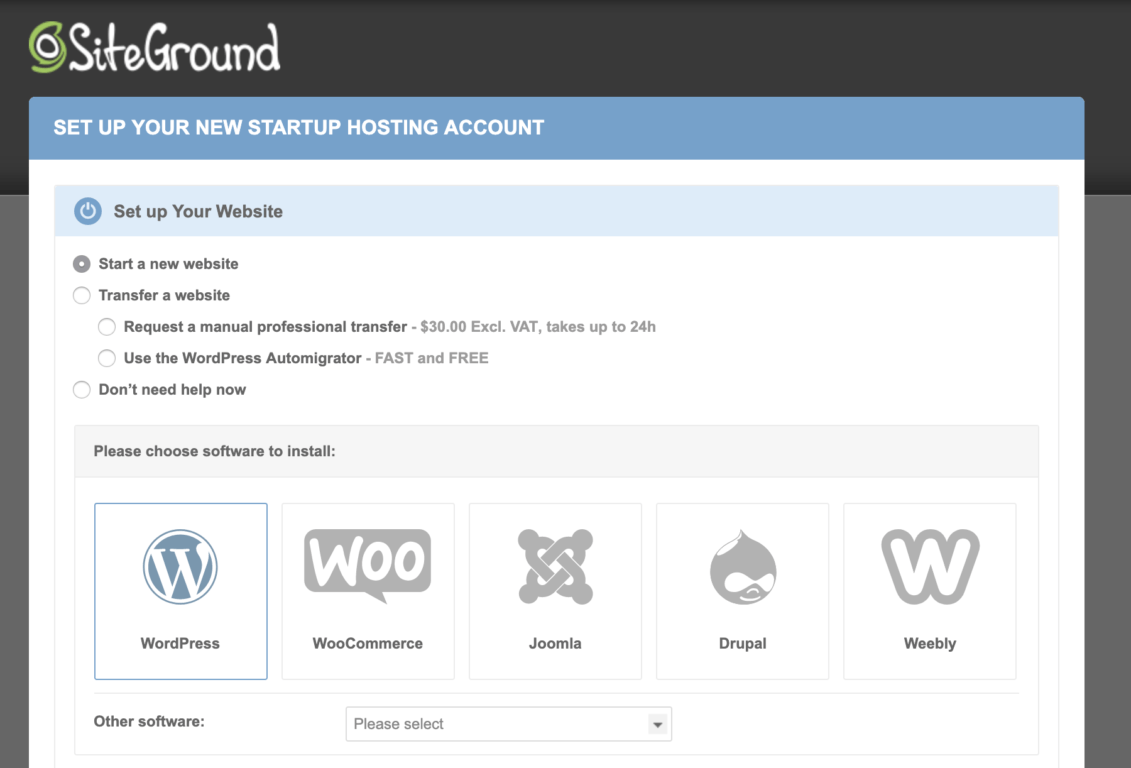
The first thing you do once your account is created you install the software. Same as the original onboarding process this wizard-like experience is very simple. This tutorial is for those piano teachers who are starting a new WordPress piano studio website. Let’s select Start a new website and WordPress from the list of software available to install.
Admin Credentials
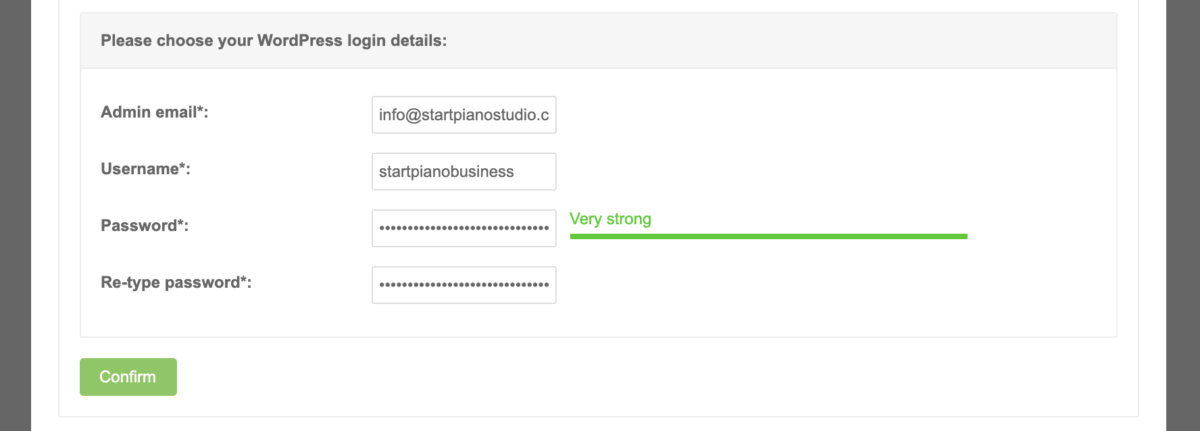
Note that the administration of your website is different from the administration of your hosting account hence a new set of credentials is highly recommended here. A different very strong password is always a good idea to avoid disruption of your website activities by hackers.
Make sure you take note of this user name and password as you will need it later to log in to WordPress admin portal of your piano studio website.
Complete Setup
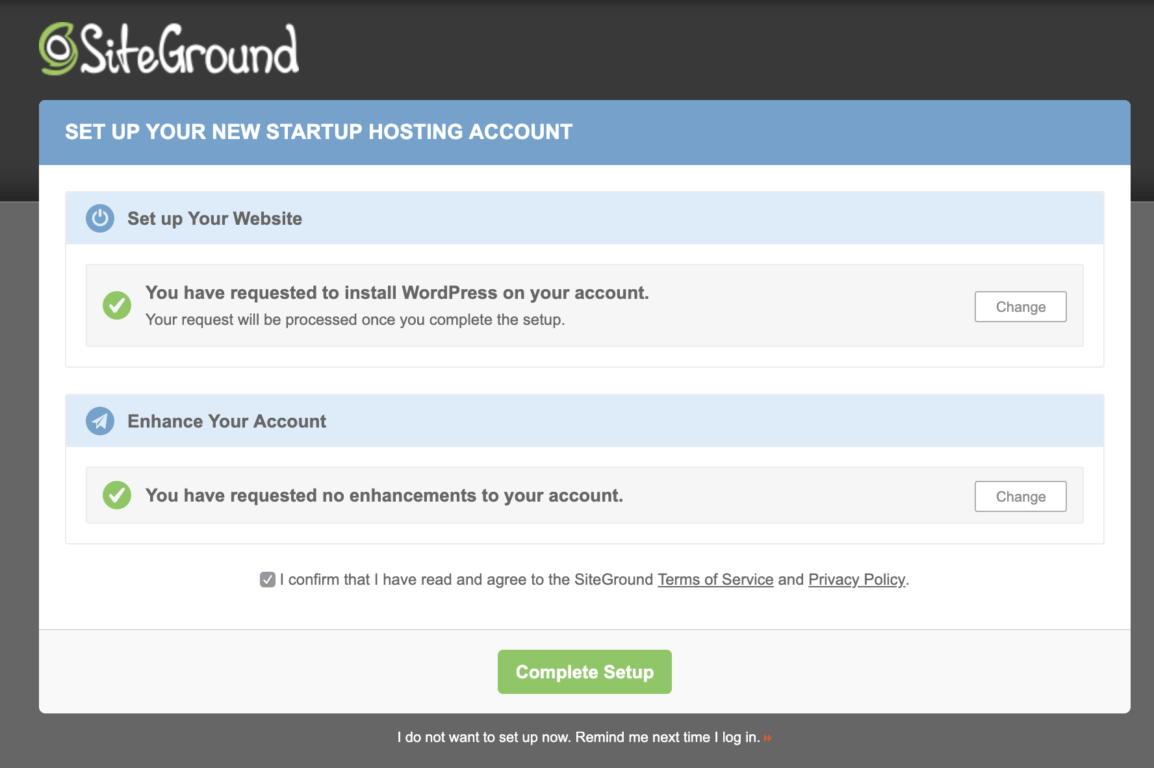
Once the software is selected and credentials are provided you are ready to complete your setup. Click Complete Setup. Thanks to SiteGround and the magic of WordPress all the required software has just been installed and configured for you in the background!
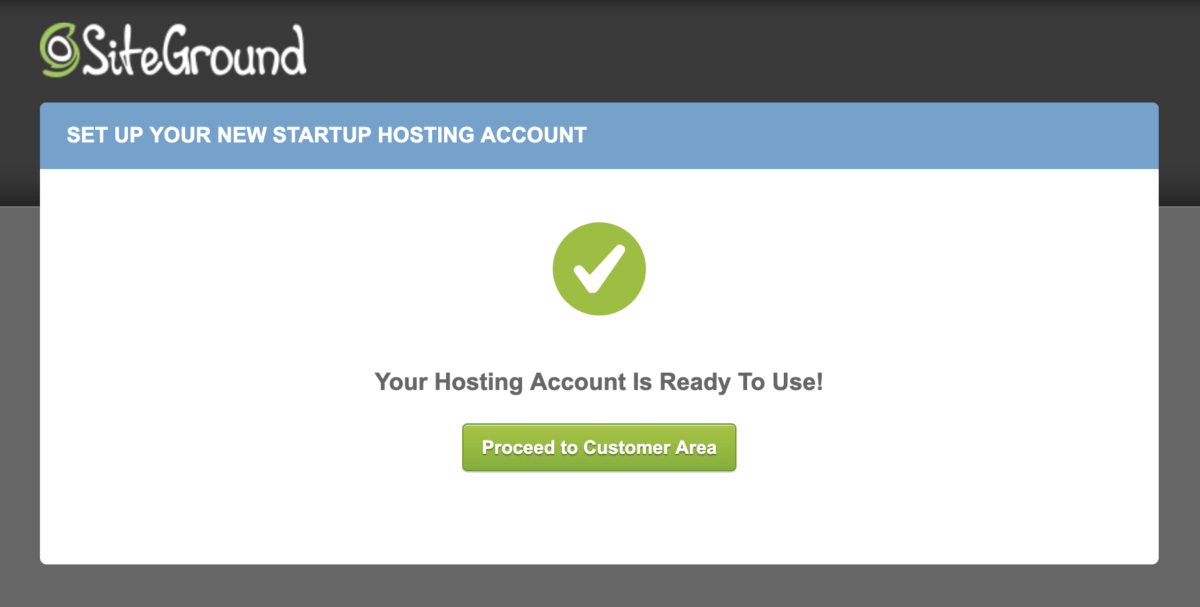
Congratulations! WordPress is installed, domain name and credentials configured and your very own hosting account is ready to go. What’s next?
Security
You are ready to switch over to the WordPress user interface and start creating and uploading all your content, but before you do so we suggest you enable redirect to a secured URL starting https://yourpiano.studio of your piano studio website. With a tiny change like this, you can enforce secured and protected URLs all the time as well as make Google rank your site higher.
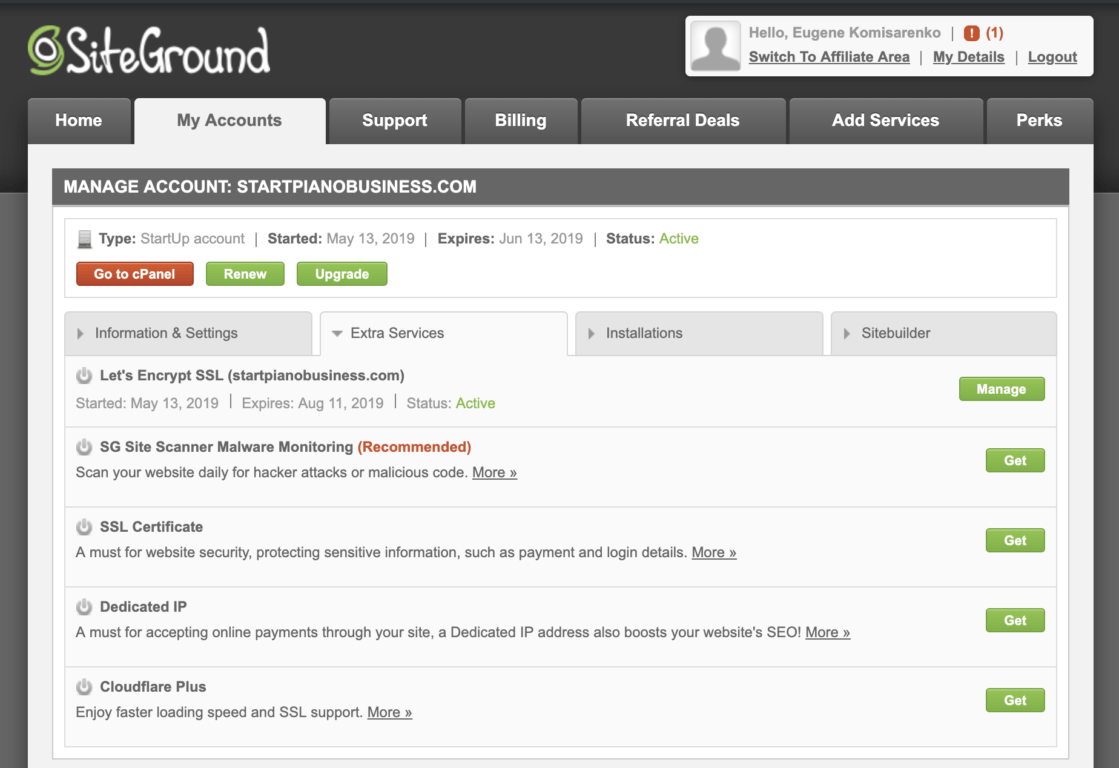
Navigate to My Accounts / Extra Services
My Accounts section has several tabs like Information & Settings, Extra Services, Installations, and Sitebuilder. Navigate to the Extra Services tab where you could find the Let’s Encrypt SSL item. Click the Manage button.
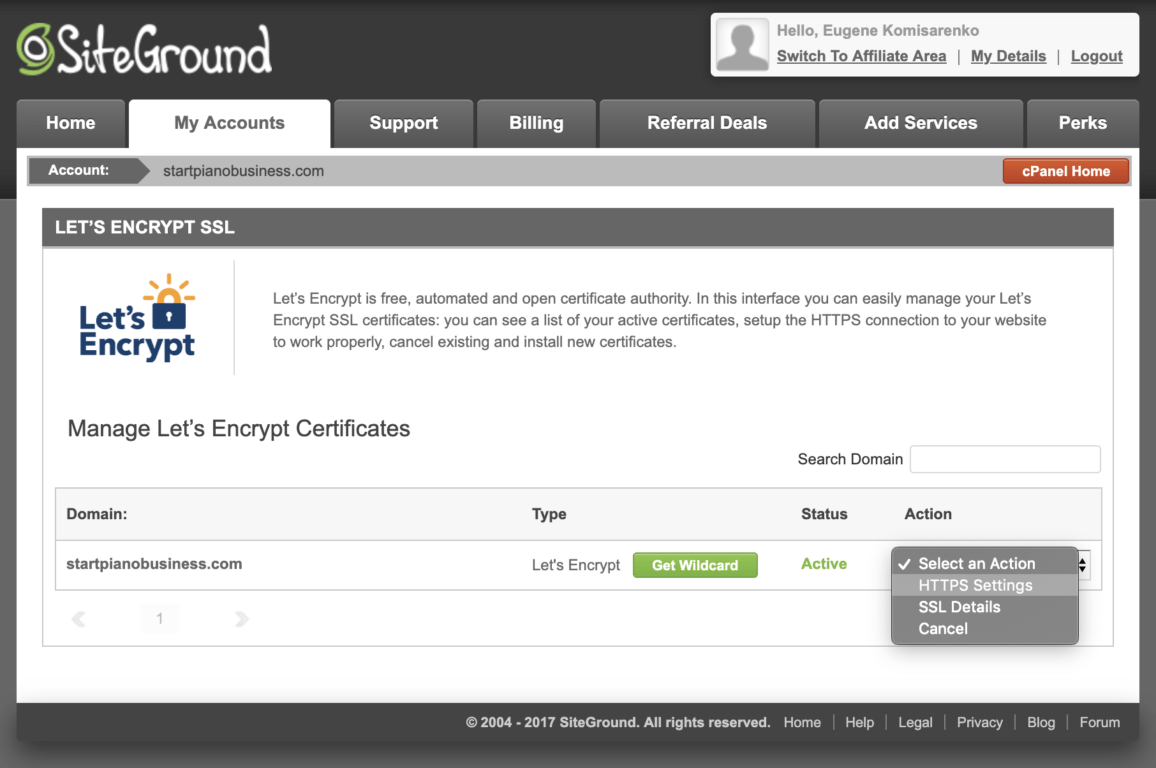
HTTPs Settings
Once inside, you will see a table with your domain and Select an Action dropdown on the same line to the right. Click on it and select HTTPs Settings from the dropdown menu.
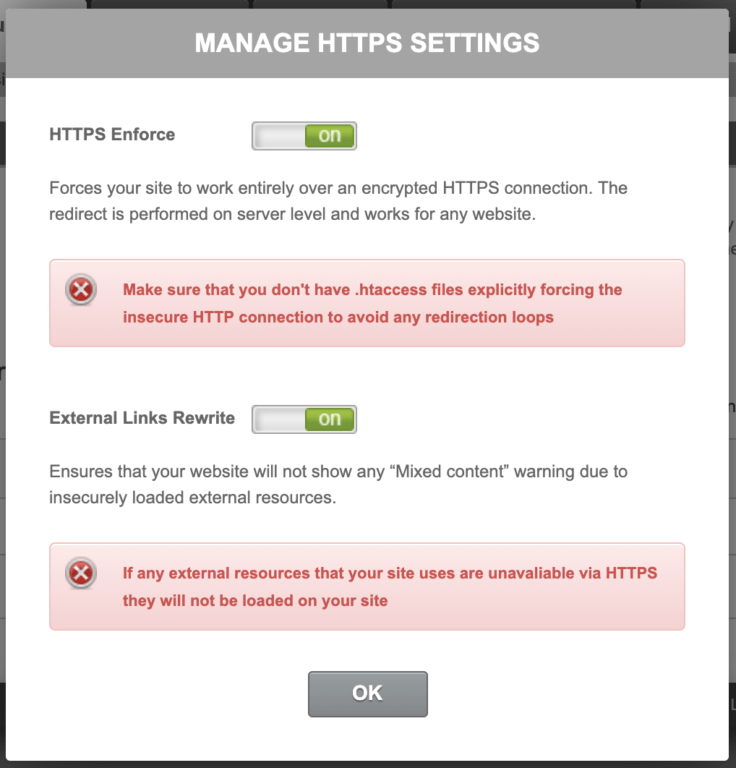
Manage HTTPs Settings
Turn on both HTTPs Enforce and External Links Rewrite. Click OK. From now on whenever anybody including Google is visiting your piano studio website SiteGround is going to redirect them to a secured URL starting with https://yourpiano.studio. Make sure both toggles are set to ON. You can ignore the warning messages in red as they are not applicable to you.
What’s Next?
You could see already that setting up your piano studio website is like peeling an onion layer by layer. First, you purchase a domain name and a hosting plan, then configure your hosting account and finally install WordPress software. Our next step is to configure it and for that SiteGround has a WordPress Starter plugin and we have our next tutorial!